

You don't feel a good landing
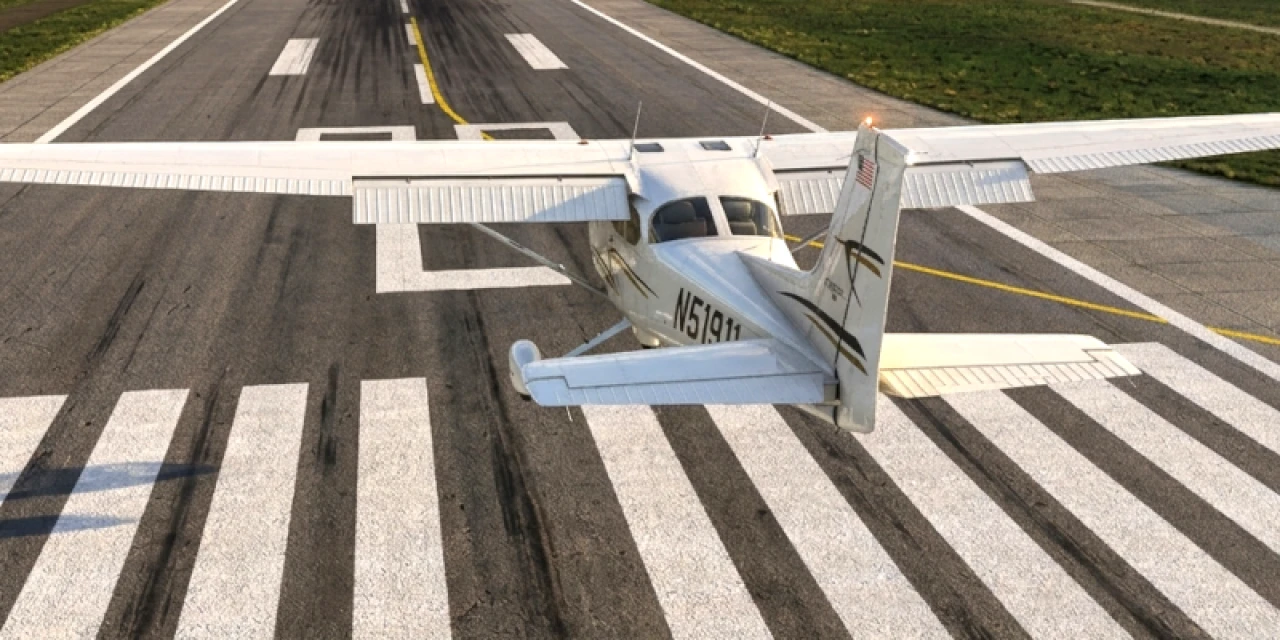
From the runway threshold onward begins the decisive phase of landing: the flare and touchdown. At this point, you should make very few corrections and instead smoothly continue what you have already established on final approach. The aircraft should cross the threshold at a low height with a stable descent rate, proper alignment, and correct airspeed. For the Cessna, a common guideline is 30% above VS0 (stall speed in landing configuration). In Aerofly FS, this results in a threshold speed of approximately 1.3 × 45 kt = about 58 kt.
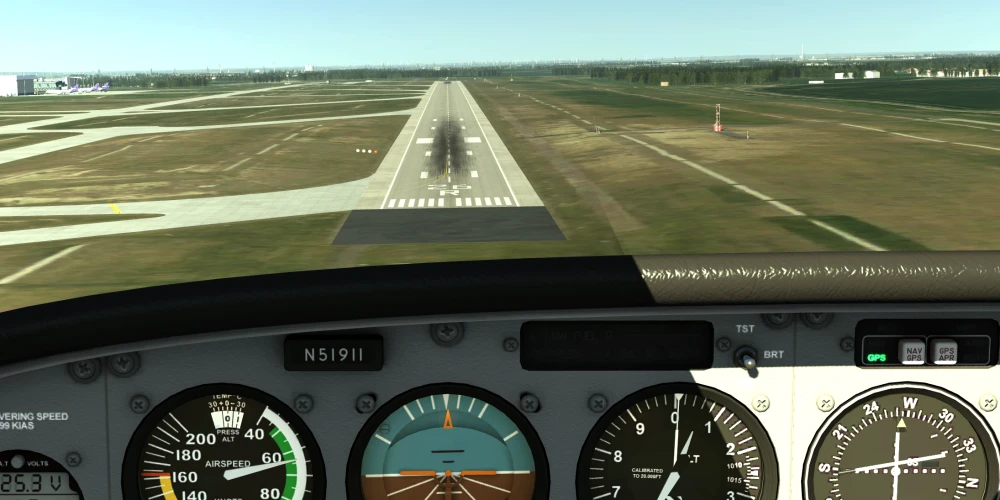
The speed must be correct
Any additional speed at this point means excess kinetic energy that you will need to bleed off unnecessarily for longer. Conversely, too little speed reduces your safety margin close to the ground and increases the risk of a hard touchdown or an unintended stall during the flare. The flaps are already in landing configuration at this stage.
The flaps increase the maximum achievable lift coefficient and therefore reduce the stall speed. At the same time, however, drag increases significantly, which helps with energy dissipation. Both effects support you in flying safely close to the minimum speed.

Even the flare is heavier than air
The transition from a stabilised descent into the flare typically begins at around 10 to 20 feet above the runway, depending on the aircraft type. Your gaze now shifts deliberately toward the runway end rather than focusing on the area directly in front of the nose. This improves your perception of alignment and height. During this transition, the elevator is gradually applied to smoothly reduce the rate of descent toward zero.
This is not an abrupt flare manoeuvre, but a gentle transition from a descending flight path into an almost level attitude just above the runway. At the same time, power is carefully reduced toward idle. Pulling too early or too aggressively will cause the aircraft to climb again. Flare too late, and insufficient vertical speed will be arrested, resulting in a firm touchdown.
In the actual flare, the remaining airspeed is further reduced while the angle of attack is brought close to the maximum lift condition without entering a stall. The goal is to touch down on the main landing gear in a state of incipient aerodynamic stall. Due to ground effect, induced drag is reduced, which causes the aircraft to “float” longer than it would at higher altitude.
This is where your skill becomes apparent: if you cross the threshold at exactly VREF, only a short, controlled float will be required. If you are too fast or too high, the aircraft may seem to float endlessly down the runway. The touchdown itself should occur with the longitudinal axis properly aligned and without any sideways drift. In crosswind conditions, drift is corrected just before ground contact using aileron into the wind and opposite rudder. The main wheels touch down first, while the nose wheel remains off the ground as long as possible.
A go-around is better than loss of control
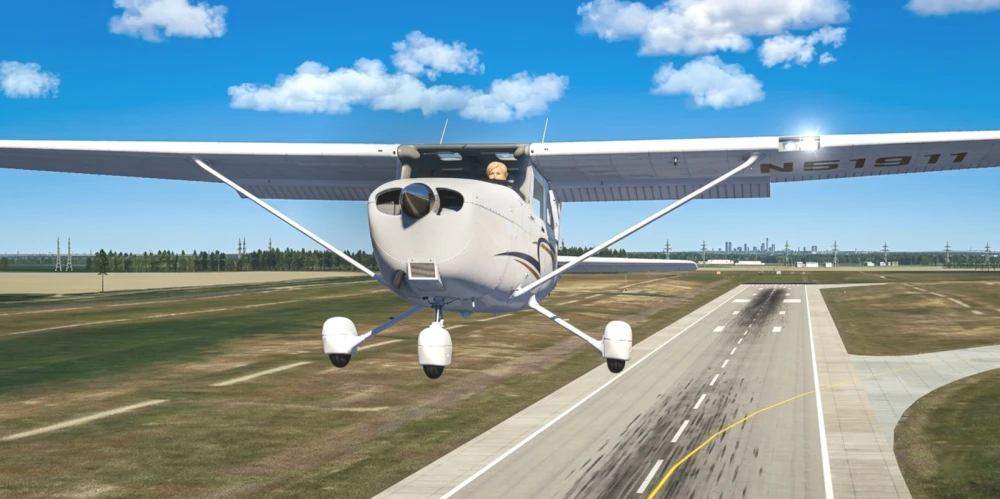
Never force a landing under any circumstances. If the setup during the flare is not correct, an immediate go-around is the best decision. The go-around itself follows a clear sequence: first, increase power and establish a stable climb attitude. Only then retract the flaps one stage at a time while a positive rate of climb is confirmed, and continue accelerating before fully retracting the flaps. Premature full flap retraction leads to a significant loss of lift and therefore a noticeable loss of altitude.