

Coordinated through turns
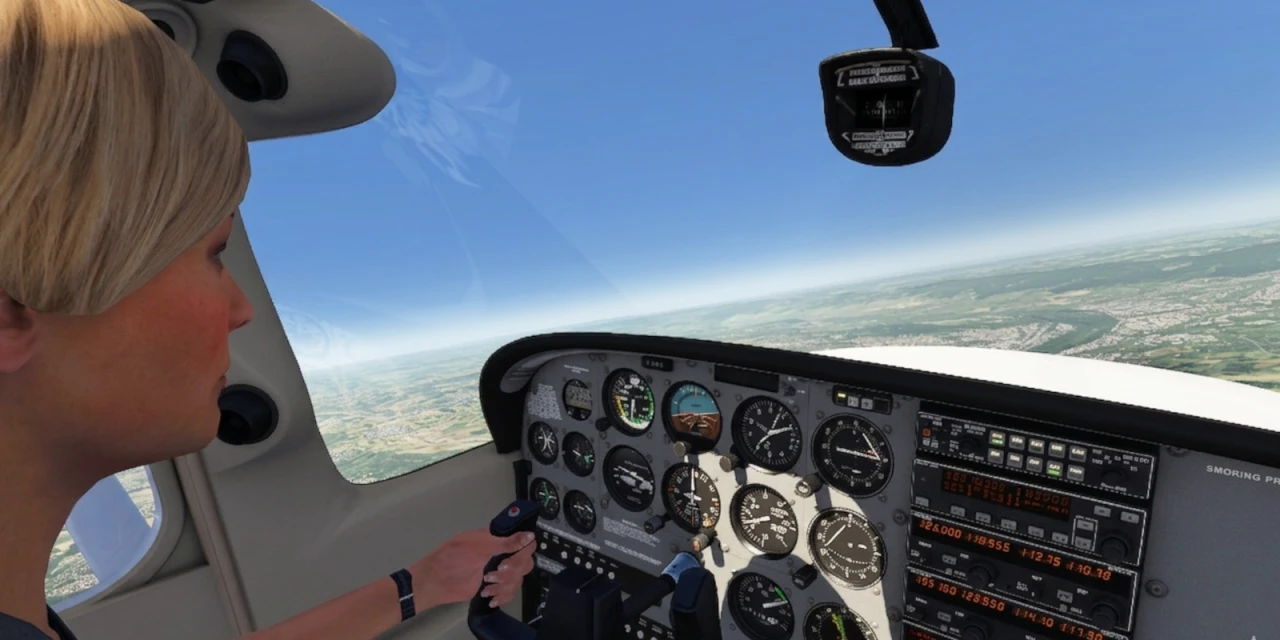
Flying turns is much more than simply deflecting the controls in the desired direction and enjoying a new heading. It requires attention and a feel for the aircraft. In this tutorial, you will learn the basics of how to fly turns safely and cleanly.
In turning flight, it is essential to coordinate ailerons, rudder, and elevator simultaneously. Only when all three control surfaces are used together in a balanced and coordinated way does a smooth and stable turn develop.
Let’s take things simple again and try to fly a standard turn in the Cessna with a bank angle of about 20 degrees. You begin with a left aileron input to roll the aircraft around its longitudinal axis and establish a left bank. For this, the left aileron deflects upward and the right aileron deflects downward. As we have already learned, induced drag is directly related to lift.
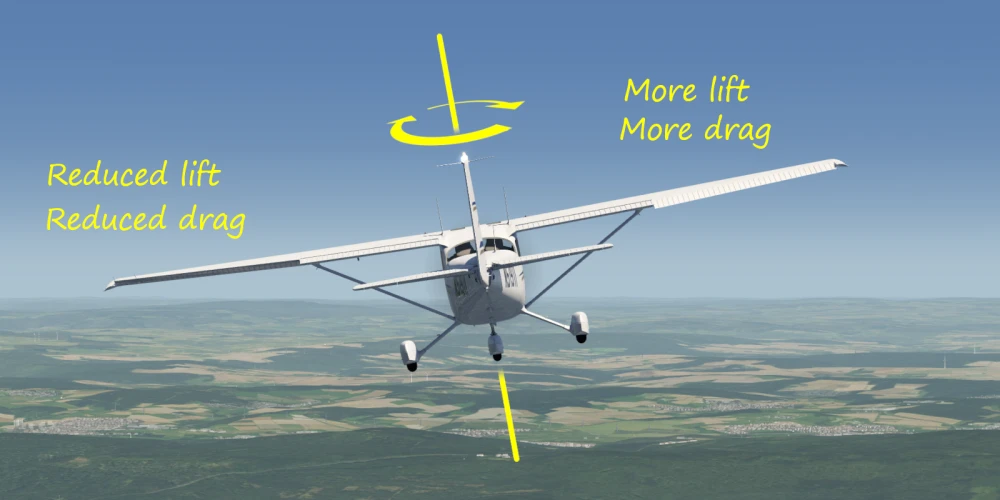
By deflecting the ailerons to the left, you increase the local drag on the right wing and reduce it on the left. This difference now produces a yawing motion, but unfortunately in the opposite direction to what we intend when trying to turn left. To compensate for this so-called adverse yaw, you now need to apply left rudder. Only then can you steer the nose into the turn. Strictly speaking, the rudder must be applied in coordination with the ailerons at the same time — not afterwards.
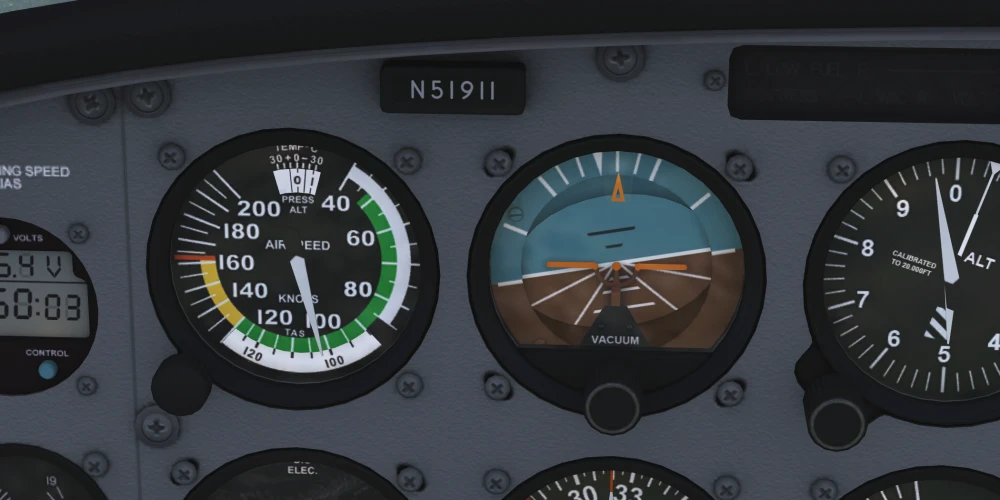
Immediately after aileron and rudder input, the elevator comes into play. For the beginning, it is sufficient to simply observe the horizon. After initiating the turn, you will gradually start to lose altitude. Now use the elevator to try to keep the natural horizon at the same level as in straight-and-level flight before the turn was initiated. Try to maintain this condition. In an ideal case, you will hold a constant bank angle, airspeed, and altitude, and the natural horizon will remain at the same position in your field of view throughout the turn.
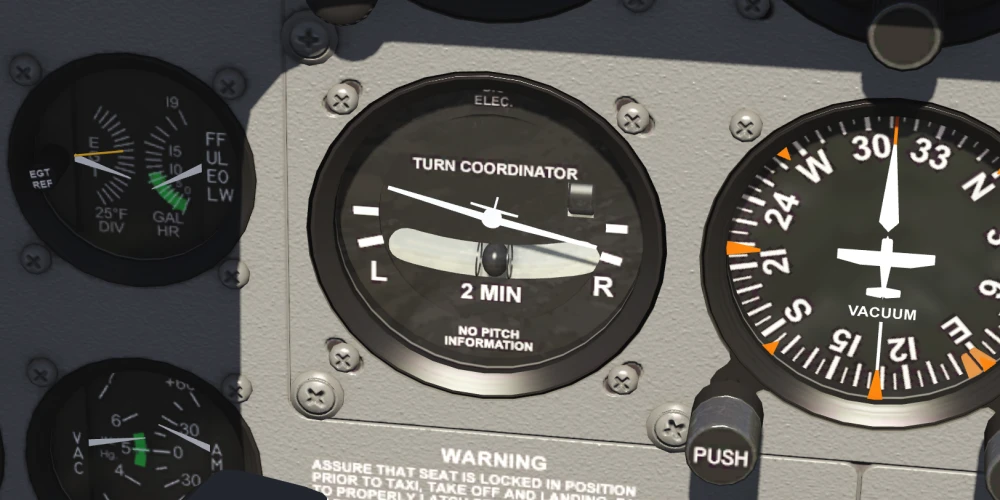
For monitoring this condition, you even have an instrument on board your Cessna: the turn coordinator (or turn-and-slip indicator). The ball in the curved glass tube shows whether lateral accelerations are currently acting on the aircraft. It is just as important during the entry into a turn as it is in steady turning flight. If the turn is correctly coordinated with aileron and rudder, no lateral acceleration acts on the aircraft, and the ball remains centered between the markings.
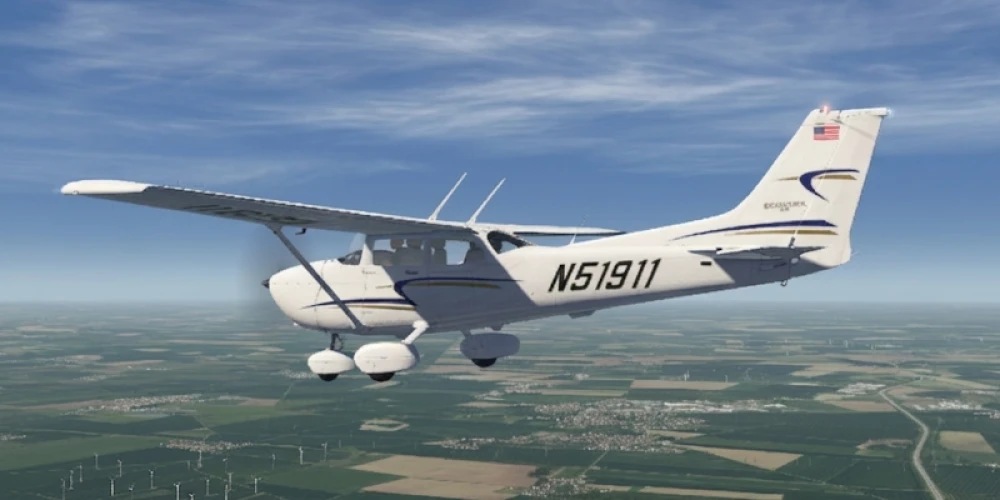
Let’s get back out of the turn.
The rollout from a turn back into unaccelerated level flight begins from a coordinated turning condition with a constant bank angle, constant airspeed, and constant altitude. In this state, lift is greater than what is required for straight-and-level flight. You will notice this immediately during the rollout.
To exit the turn, first apply opposite aileron to initiate a rolling motion back toward wings-level. As the bank angle decreases, the rate of turn reduces accordingly. Once the desired zero bank angle is reached, the ailerons are returned to neutral.
During this rolling motion, adverse yaw occurs again. To ensure a clean, coordinated rollout without slipping, you therefore apply rudder in the direction of the roll once more. The ball in the turn coordinator remains centered, and the aircraft’s longitudinal axis follows the flight path. At the same time, elevator input must be managed.
In steady turning flight, an increased total lift was required, which would lead to a climb when rolling back to wings-level attitude. Therefore, you must gradually reduce the elevator input as well. The angle of attack, and thus the total lift, is reduced until you return to level flight with constant airspeed and constant altitude.